
How to Bake the Perfect New York-Style Bagel with a Chewy Crust?
Bagels are a staple of New York culture, as iconic as the Statue of Liberty or Times Square. Yet, the magic of a true New York-style bagel isn’t confined to the city. You can recreate this distinctive experience in your own kitchen, no matter where you are in the world. The secret to achieving the perfect New York-style bagel lies in the details, from the ingredients you choose to the baking method you use. This article will guide you through the process, providing practical tips and a step-by-step recipe. Let’s dive into the world of baking the perfect New York-style bagel.
The Science Behind the Perfect Bagel Dough
Before we delve into the recipe, let’s understand the science behind the perfect bagel dough. The bagel’s distinctive chewy interior and glossy crust come from the right blend of ingredients and the unique baking process.
Lire également : Can You Master a German Black Forest Cake with Cherry Liqueur?
Bagels contain four primary ingredients: flour, water, yeast, and malt syrup. The flour provides the structure, while water activates the yeast and malt syrup adds a hint of sweetness and aids in browning.
Yeast
Yeast plays a crucial role in bagel making. It’s a living organism that consumes sugars in the dough and produces carbon dioxide gas and alcohol. This gas gets trapped in the dough, causing it to rise. For the best results, use active dry yeast.
Avez-vous vu cela : What’s the Secret to a Hearty Ethiopian Doro Wat with Injera Bread?
Malt Syrup
Malt syrup, a sweetener derived from barley, is another star ingredient in bagel baking. Malt syrup gives New York-style bagels their distinctive taste and shiny crust.
Flour
Flour is the backbone of your bagel dough. High-gluten bread flour is recommended for New York-style bagels as it provides the chewy texture bagel lovers crave.
The Process: Mixing, Kneading, and Proofing
After understanding the underlying science, it’s time to get your hands dirty. The mixing, kneading, and proofing stages are essential in achieving the desired texture and flavor.
Mixing
Start by combining the yeast with warm water in a large bowl and let it sit for five minutes. This step is called "blooming" the yeast and allows it to activate. Next, add the flour, malt syrup, and salt to the yeast mixture.
Kneading
Kneading is crucial in developing gluten, which gives bagels their signature chewy texture. Spend a good 10 to 15 minutes kneading the dough until it becomes smooth and elastic.
Proofing
After kneading, place the dough in a greased bowl, cover it with a damp cloth, and let it rest for about an hour, or until it doubles in size. This process, called proofing, allows the yeast to ferment and the dough to develop its flavor.
Shaping, Boiling, and Baking
Once your dough has proofed, you’re ready to shape, boil, and bake your bagels. This is where the magic happens.
Shaping
Divide the dough into equal portions and shape each piece into a ball. Poke a hole in the center of each ball and gently stretch it to form a bagel shape. Let the shaped dough rest for another 20 minutes to allow for a second rise.
Boiling
The distinctive step in bagel-making is boiling the dough in water before baking. Boiling gives bagels their characteristic chewy crust. For an authentic New York-style bagel, boil them in water with malt syrup for about 1 minute on each side.
Baking
After boiling, transfer your bagels to a baking sheet and bake in a preheated oven. The high heat will give you that desirable golden-brown crust and the unique chewy texture.
Finishing Touches: Toppings and Seeds
The final step in baking the perfect New York-style bagel is adding toppings. While plain bagels are delicious, adding seeds or other toppings can enhance the flavor and texture.
Seeds
The most common types of seeds used on bagels are sesame seeds and poppy seeds. You can also experiment with other toppings, such as coarse salt, dehydrated onions, or everything bagel seasoning.
Remember to add the seeds or toppings immediately after boiling and before baking. This way, they will adhere better to the dough and will not burn in the oven.
By following these steps and understanding the science behind it, you will be well on your way to creating the perfect New York-style bagel right in your own kitchen. Pull up your sleeves, grab your ingredients, and start baking!
Resting the Dough and Preparing the Oven
Now that you’ve shaped your bagels and let them rest for a second time, it’s important to let your dough relax for a while longer. This step allows the gluten to rest after the vigorous shaping process, and it’s essential to achieving the perfect chewy center.
Resting the Dough
Cover the formed bagels with a plastic wrap and let them rest at room temperature for around 20 minutes. This rest period allows the yeast to continue fermenting, developing a deeper flavor in the dough.
Preparing the Oven
While your dough is resting, preheat your oven to a high temperature—around 425°F (220°C). High heat is critical in achieving a nice, crispy crust on the outside of your bagels.
Line a baking sheet with parchment paper to prevent your bagels from sticking to the pan. If you want even more crunch, you can lightly sprinkle the parchment paper with cornmeal before placing your bagels on it.
The Final Stages: Cooling and Serving
After your bagels have been baked to a beautiful golden brown, it’s time to cool them and prepare them for serving.
Cooling
Allow the bagels to cool on the baking sheet for about 5 minutes, then transfer them to a wire rack to cool completely. This step is crucial—cutting into the bagel too soon can cause the inside to become gummy.
Serving
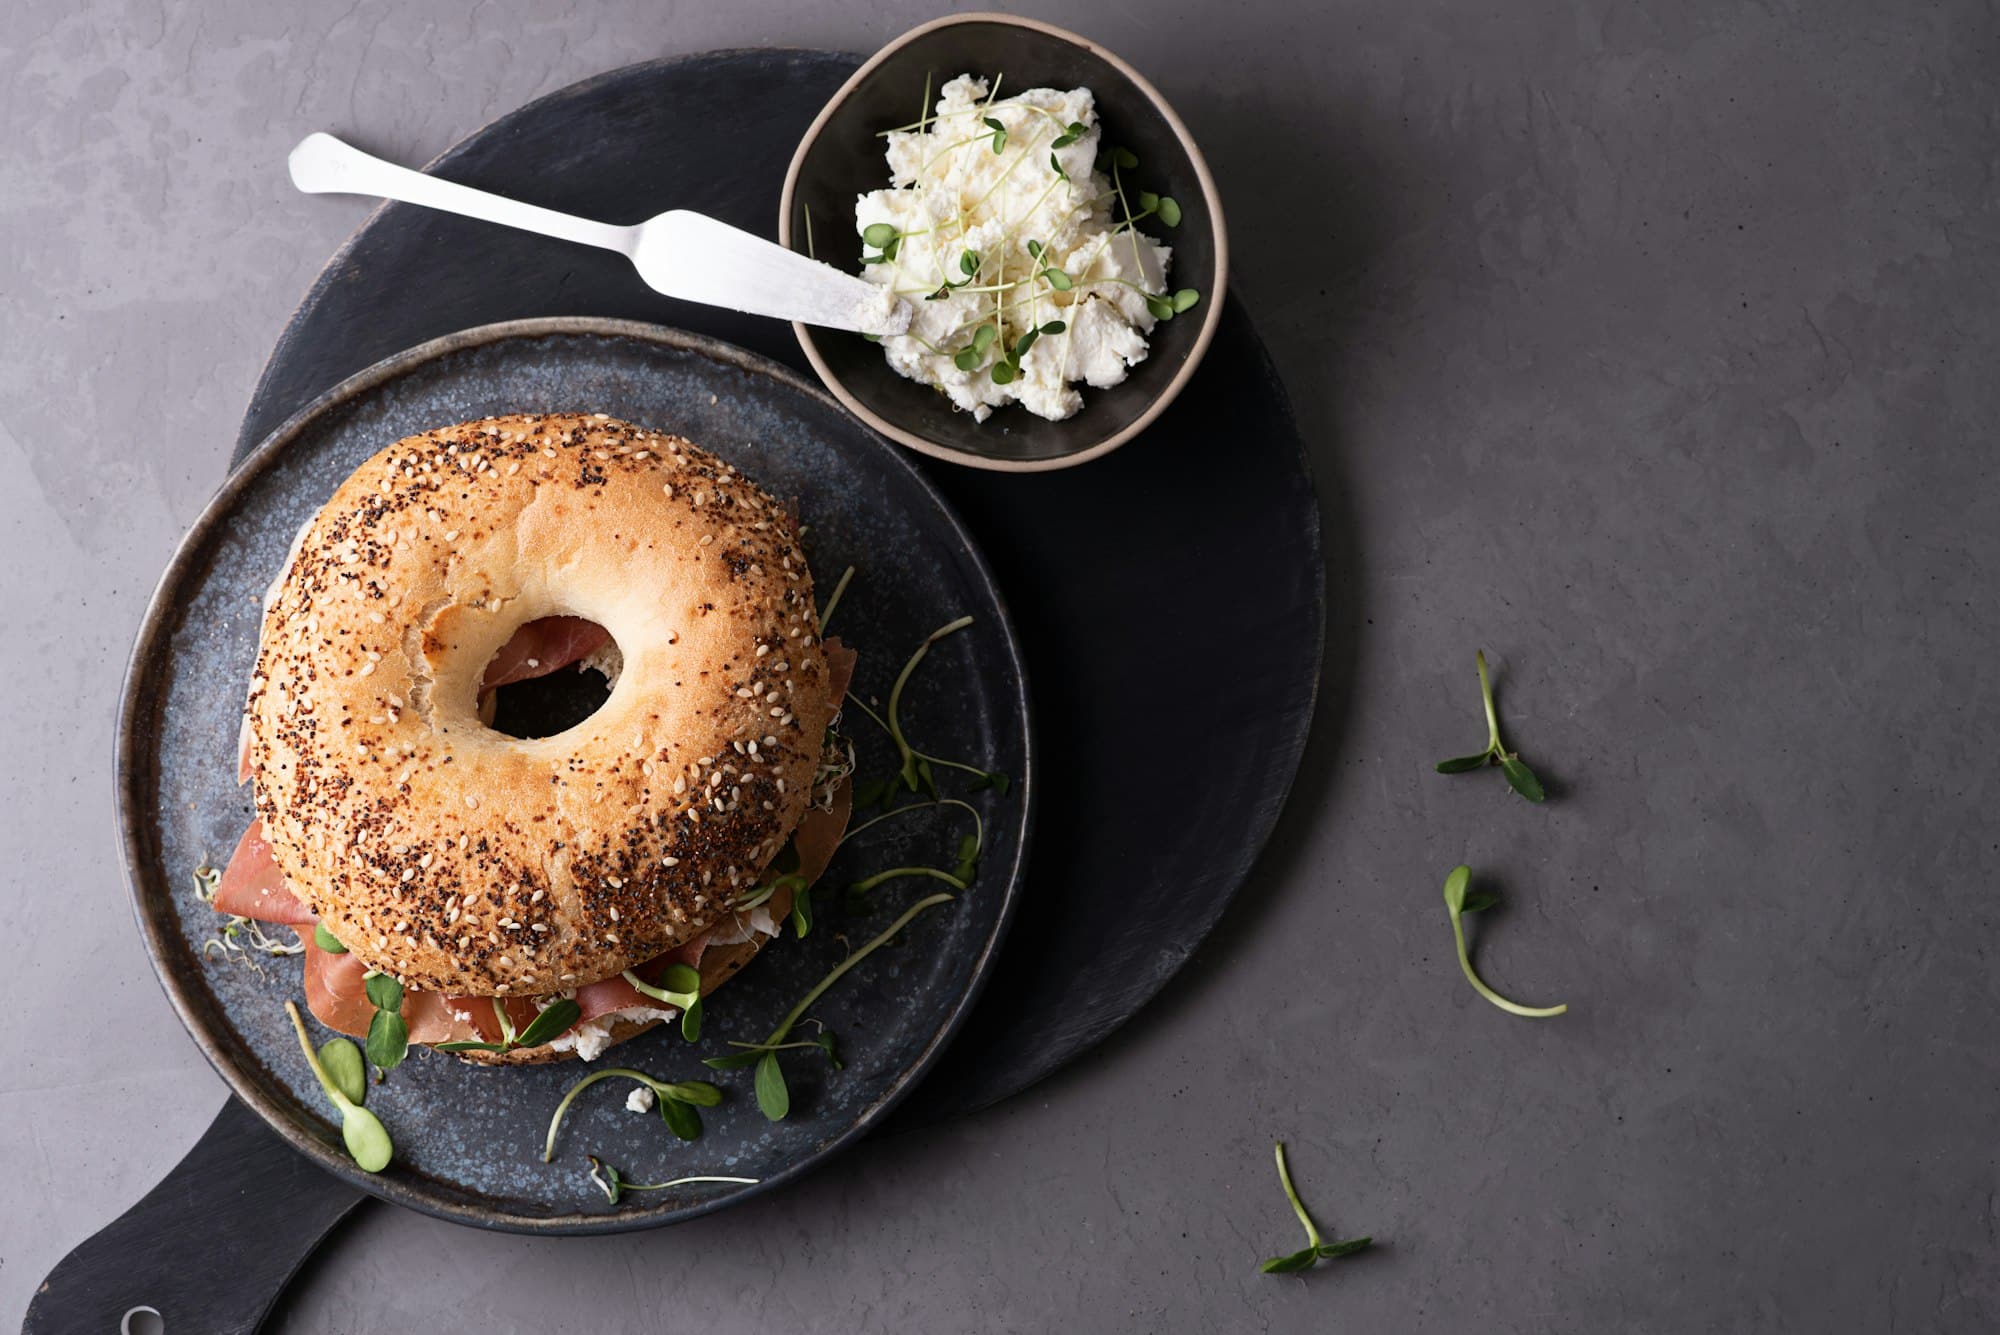
New York-style bagels are often sliced in half and smeared with cream cheese. However, they can also be used as the base for a bagel sandwich or served with butter and your favorite jam.
Conclusion: Enjoy Your Homemade New York-Style Bagel
There you have it, your detailed guide to baking the perfect New York-style bagel. By understanding the science behind the key ingredients—yeast, flour, and malt syrup—and following the detailed steps for kneading, proofing, shaping, boiling, and baking, you’ve transformed those humble ingredients into something special.
Remember, practice makes perfect. Don’t be discouraged if your first batch doesn’t turn out exactly as you expected. Keep experimenting with the recipe and the process until you find what works best for you.
Your kitchen may not be a bustling New York City bakery, but with this guide, you can still enjoy the taste of an authentic New York-style bagel. Enjoy the fruits of your labor—whether it’s a warm bagel with cream cheese, a hearty bagel sandwich, or simply a toasty bagel on its own. Happy baking!